A person said that because we introduced the opening of ZOHO mailbox, so we have to be responsible for his life to help solve all mailbox problems for free. We don't accept moral abduction, please solve the mailbox problem by yourself or change the mailbox, we are free to help only provide advice, when the problem depends on yourself.
Note: ZOHO mailbox can not be used to send development letters, once the system detects the automatic suspension of the sending function, but it is very easy to unblock.ZOHO mailbox can only be used to chat about the business, the mail arrival rate is high, the price is cheap. It is recommended to use ZOHO mailbox to send development letter. Zoho CampaignsThe
It is not recommended to take business mailbox to send development letter, now the whole world enterprise mailbox is boycotting spam, and it will limit the sending function if it is found. If the order chat to the stage of sending PI invoice because of sending development letter leads to mailbox blocked, the impact may be huge.
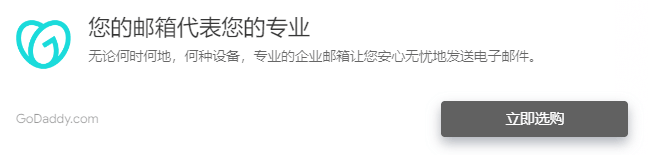
The vast majority of foreign trade orders are negotiated through mailbox communication, do foreign trade enterprise mailbox is essential, in addition to sending development letters to contact customers can also publicize the official website and corporate image. The following picture is a screenshot of GoDaddy's enterprise mailbox advertisement, enterprise mailbox represents professionalism. It is not recommended to use Gamil as the main mailbox to communicate with customers.
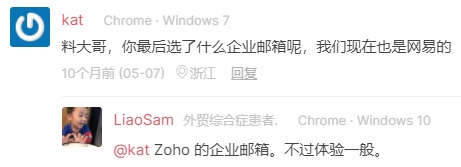
existFree Tencent enterprise mailbox registration tutorialIn this article, we have compared the advantages and disadvantages of several mailboxes, and the international version of ZOHO mailbox is the one with the highest cost performance and good arrival rate of incoming and outgoing mails. Sam Company also uses ZOHO enterprise mailbox.
Because of the domestic foreign trade enterprises wildly send development letters, resulting in many domestic mailbox IP is foreign black interception, so the domestic mailbox (including paid mailbox) to send letters to foreign customers will not be very high arrival rate. Especially QQ mailbox is not so good in international reputation, it will be prompted as spam by Gmail, Outlook and so on.
US ZOHO enterprise mailbox is one of the best choices with good effect and high cost performance. The cost is charged according to the number of mailboxes opened, one mailbox 12 dollars a year. Google enterprise mailbox is as low as 72 dollars a year/one mailbox, only the tycoon can afford it.
Note: ZOHO mailbox is divided into international version (www.zoho.com/mail/) and mainland version (www.zoho.com.cn), do foreign trade must register international version. I called the customer service, the mainland version of ZOHO mailbox (ZOHO) is mainly used for domestic inter-enterprise communication, international letters sent and received to achieve the rate is not as good as the international version.
If your domain name has been registered with other brand enterprise mailboxes before, and you want to change it to ZOHO enterprise mailbox, you just need to re-register it according to the following steps. When you add MX or other domain name resolution, you need to delete all the relevant resolutions of your previous mailbox, and then add ZOHO.
When you open an email account, you can set the email address to be the same as the previous email address, so that old customers can receive emails smoothly. You can also register a different email account, and then add an email alias, set the alias to be the same as the previous mailbox, you can also receive emails from the previous mailbox.
ZOHO mailbox registration tutorial
It is recommended to open the scientific Internet tool (ladder software) first to avoid lagging. Need to prepare a domain name for the opening of the enterprise mailbox, later need to add a few domain name resolution, first log in the domain name management interface (where the domain name is registered). If you don't have a domain name, register one according to the tutorial ☞The latest Namesilo domain name registration tutorialThe
Create an account
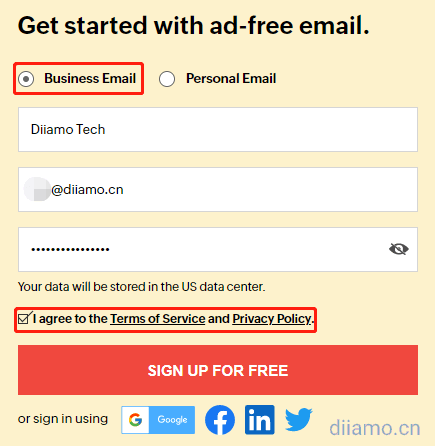
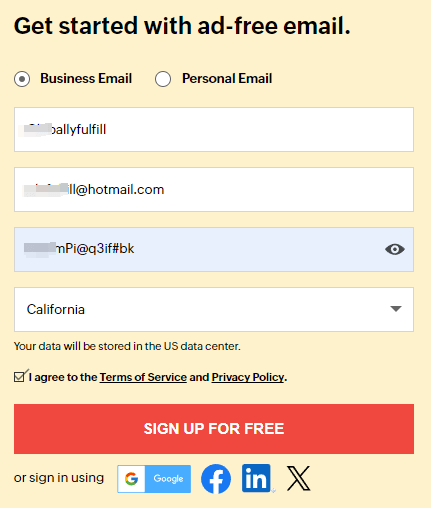
Open to enter the official website of ZOHO mailboxhttps://www.zoho.com/mail/(It is recommended to open the scientific Internet tool), select "Business Email", enter the English name (Pinyin is fine) and an e-mail address you are using, check the box to agree to the terms of service, click "SIGN UP FOR FREE".
It is not recommended to enter phone number to register, because you need to bind a second cell phone number if you turn on the secure login verification (enter cell phone SMS verification code). And we also have the possibility to change the cell phone number, it is better to use email to register.
Free ZOHO Enterprise EmailThere is no POP, IMAP function, so you can't use Foxmail or other software on the computer side (you can use the app on the cell phone side), you can only use the web page version of the mailbox. It is not recommended to use free enterprise mailbox to do foreign trade, and the basic investment should be willing to pay.
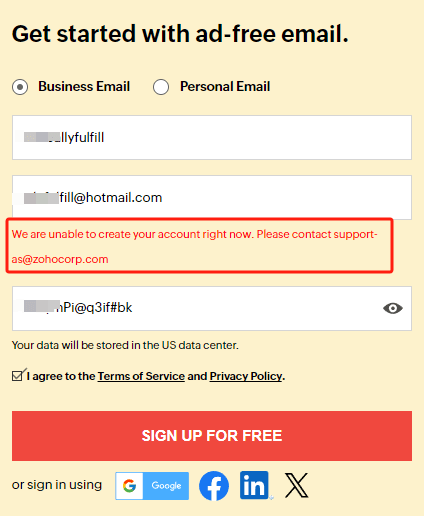
Above↑ is the registration interface without ladder software. The following figure ↓ is the registration interface of the open ladder software with an additional address option, choose at random.
If there is the following prompt "We are unable to create your account right now. Please contact support-as@zohocorp.com", change your email address to register, there is a customer change outlook One customer changed his outlook email address.
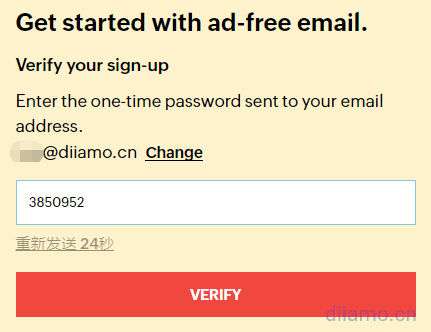
Enter the verification code of the received e-mail (maybe into the spam mailbox) ↓, click "VERIFY".
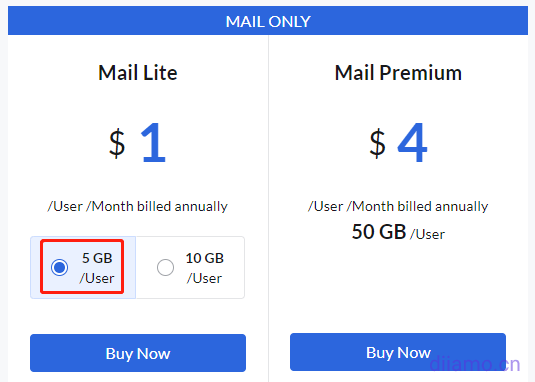
The default option is to pay per year, which is cheaper.
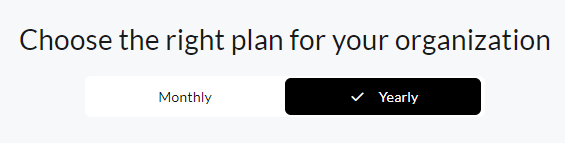
5G/User costs $1 a month, 10G/User costs $1.2 a month. Choose according to your needs, 5G is usually enough, click "Buy Now".
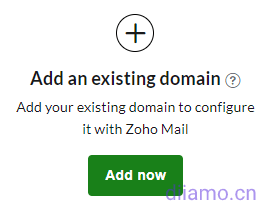
To add an existing domain name, click "Add now"↓.
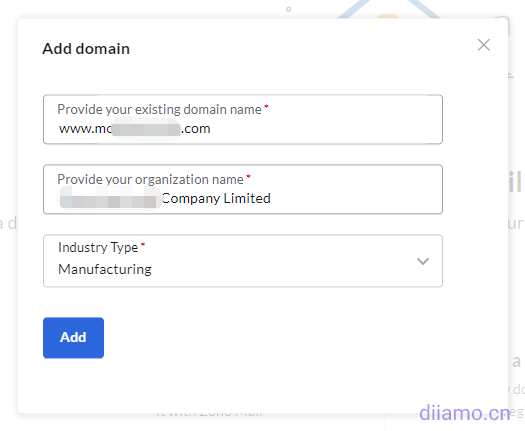
Enter the website address and company name, select the industry and click "Add Now/ Add".
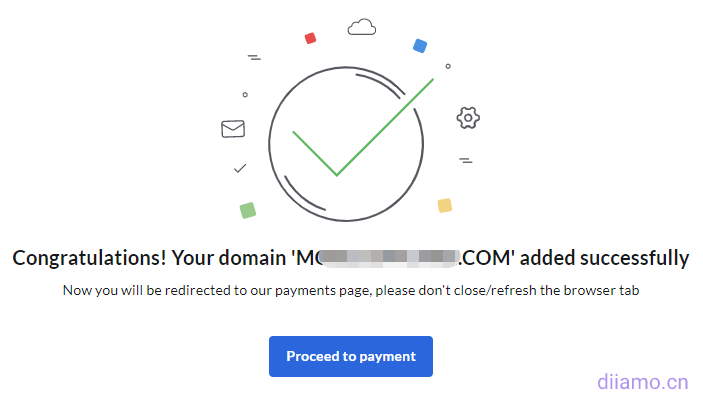
Click "Proceed to payment" to enter the payment interface.
Payment for enterprise mailbox
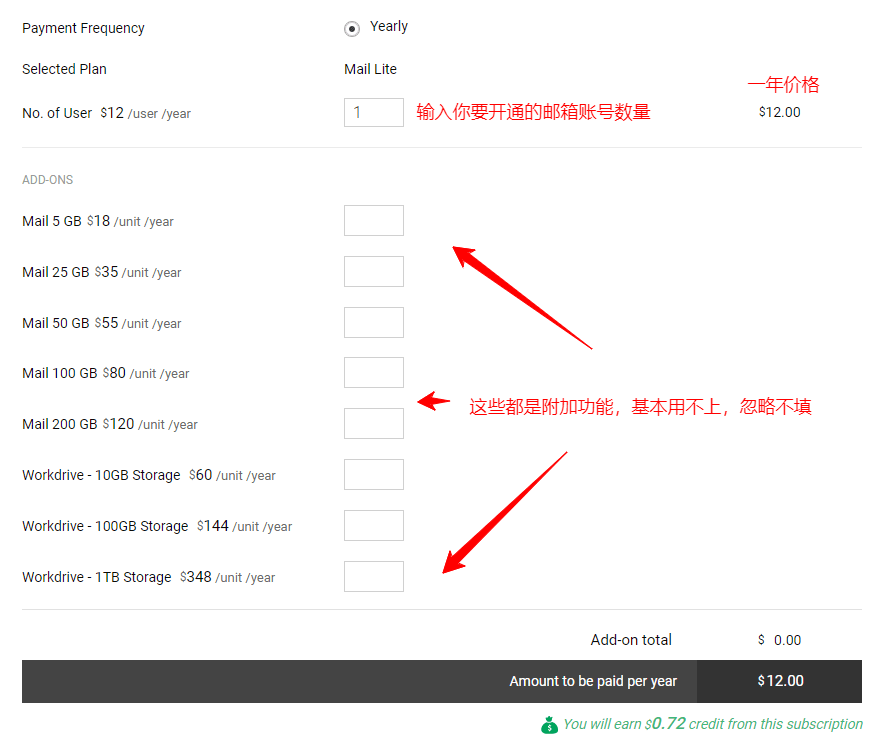
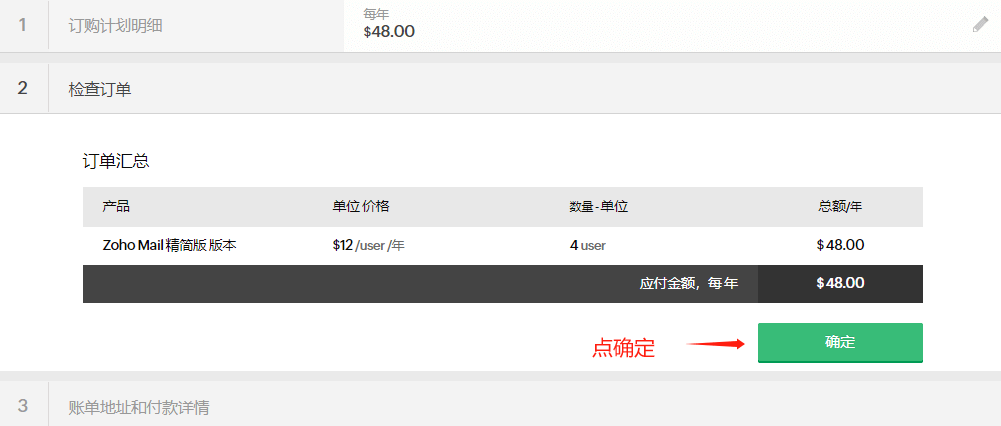
Payment is required before you can continue to create an enterprise mailbox. Enter the number of e-mail accounts to be opened and click "Continue". ![]() The
The
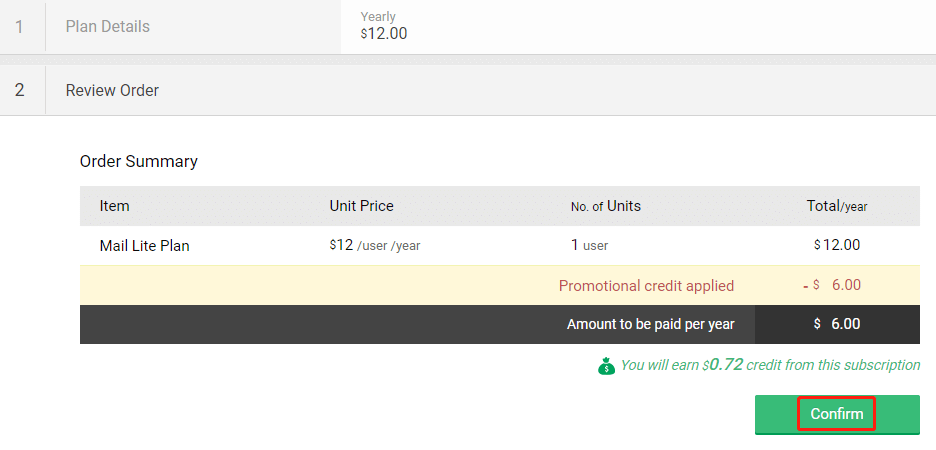
Confirm order information ↓, no problem, then point "Confirm" ![]() The
The
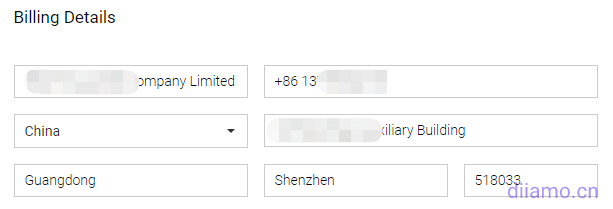
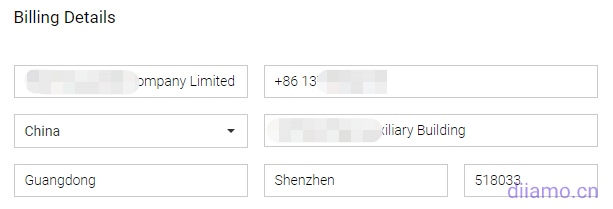
Enter billing information.
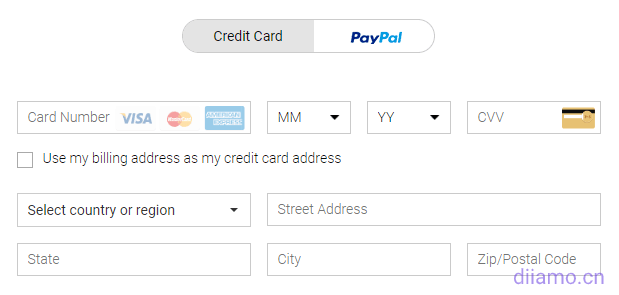
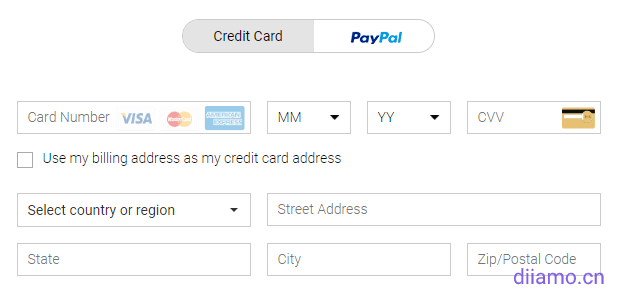
Choose your payment method, either a credit card with Visa, MasterCard or Paypal, and click "Continue". ![]() The
The
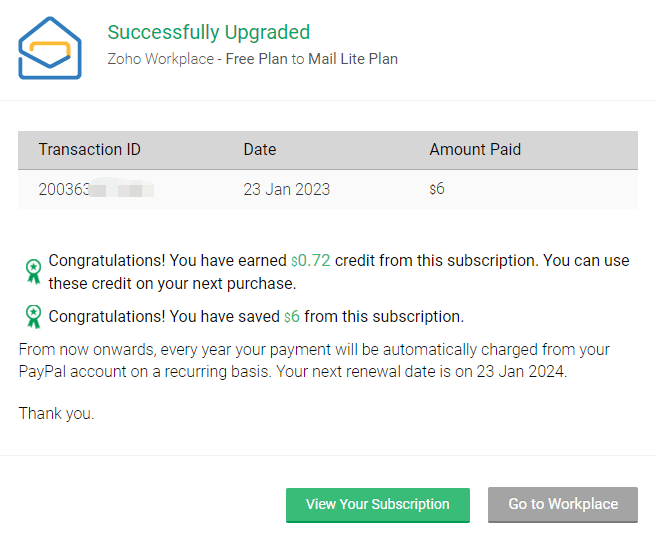
After completing the payment, you will be prompted with the image below. Ignore the prompt or $6 or whatever, it doesn't help. Click "Go to Workplace" ![]() The
The
Add email domain
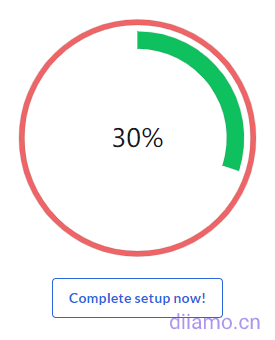
Follow the above tutorial to complete ZOHO account registration, now you need to verify the domain ownership to complete the domain name addition, and then create the enterprise mailbox. Click "Complete setup now!" in the picture below to start verifying the domain name.
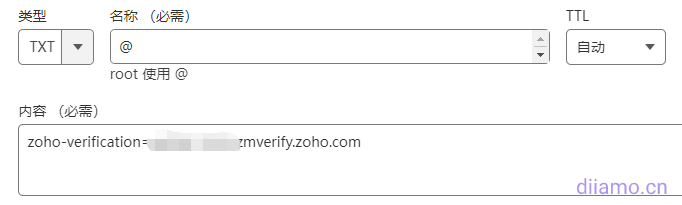
Tips to add the following TXT domain name resolution, enter your domain name resolution management background, add the following TXT records.

Add TXT parsing according to the following picture, keep TTL as default and don't select it. Below is the screenshot of Cloudflare add domain name resolution, different domain name resolution merchant interface is not the same, but the content is the same. Select TXT, enter @ for the name, enter the content to be parsed, and click Save.
After adding resolution, go back to ZOHO mailbox page, click "Verify TXT Record" to verify whether the added resolution is correct. If the verification is not successful, it may be that some domain name servers are slow in resolving, wait for a few minutes and try again. Or the domain name resolution may be added wrongly, check and verify.
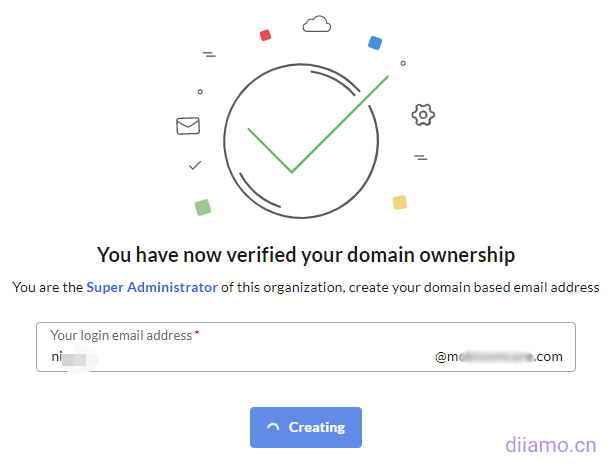
If the resolution is added correctly, you will enter the following interface to start adding mailboxes. Input the prefix you want and click "Create".
After you have successfully created the group, you will enter the following interface, tap "Proceed To Setup Groups →" at the bottom of the page.

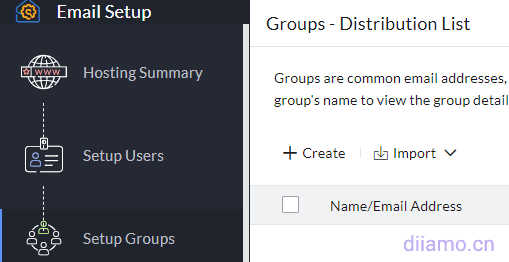
Enter into the "Groups" setting, "Groups" is the meaning of mailbox group, usually not used, add it later will also work. Skip and click "Proceed To DNS Mapping" directly.

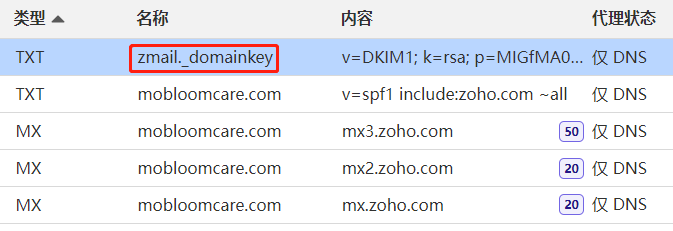
The following chart will list 5 resolution content, add 5 resolution to the domain name resolution. priority is the weight, fill in, only MX resolution need to fill in Priority. if you do not know how to add to find someone to help. We help customers to build websites will help customers add free domain name resolution and even free enterprise mailbox registration.
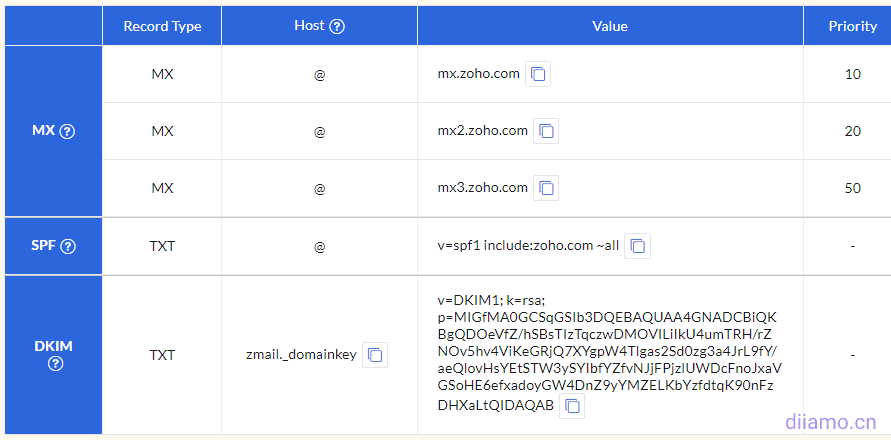
The following picture shows the finished additions, the name of DKIM is special, the other 4 parsing names are all inputted@Just do it.
Click on "Verify All Records" after adding the parser.
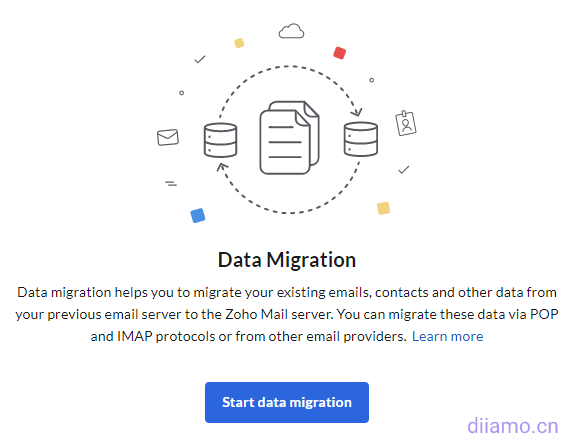
If you parse correctly, you will enter the following page, "Data Migration" is the old mail relocation service, if you have opened an enterprise mailbox in other places, you can use this service to relocate all the old mails to ZOHO inbox. Here we skip this service and click "Proceed To Go Mobile" at the bottom.

Enter the following IMAP, POP, SMTP information interface, this is very important, take a screenshot of all the contents and save it. This is very important, take a screenshot of all the contents and save it. You need to use these contents for linking mailbox to mail client. Click "Proceed To Setup Completion" after saving.
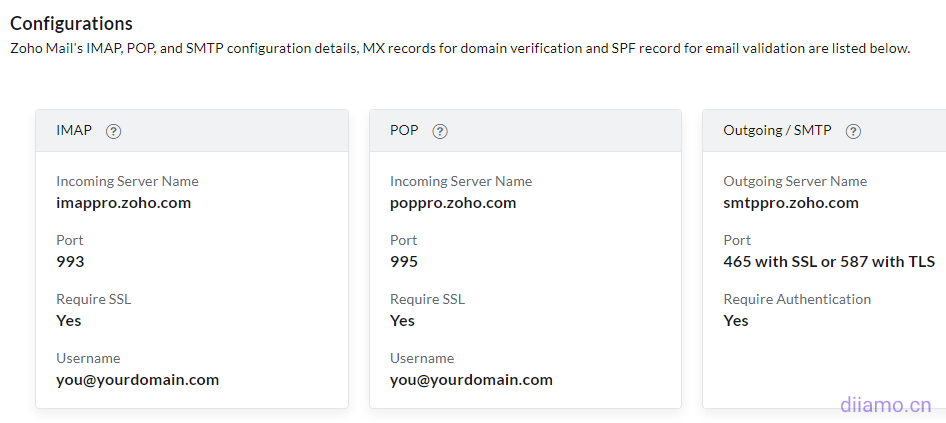

| Linking Methods→ | IMAP | POP | SMTP |
| Server Address/Name | imappro.zoho.com | poppro.zoho.com | smtppro.zoho.com |
| Port | 993 | 995 | 465 (SSL) or 587 (TLS) |
| SSL | Support (check SSL when binding) | ||
| Login User Name | E-mail address xxx@xxx.com | ||
| login password | SMTP password (if any) or email password | ||
This is the end of ZOHO mailbox registration tutorial, and the mailbox can be used normally. Click "Check out your inbox" to enter the web inbox, and click "Go to Admin Console" to enter the background of mailbox control.
The following is a tutorial, it is recommended to follow the tutorial to set the SMTP password for binding Foxmail and so on. If you want to improve the security of a higher point is recommended to open the login authentication.

ZOHO mailbox tutorial
The following 3 commonly used URLs are recommended to be bookmarked in your browser and will be used in the future.
1- Mailbox Console(Workplace), this is the highest permission setting place, you can control all mailboxes under the account. For example, to enable/disable multi-factor authentication uniformly.
2- ZOHO mailboxWeb InboxYou can send, receive and check emails here.
3- Mailboxesmanagement back office, view individual mailbox usage, set up individual mailboxes, and more.
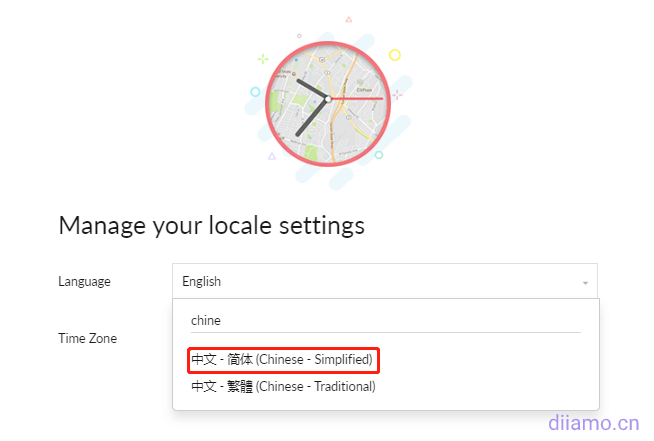
The first time you enter the web version of the inbox will pop up the welcome window as shown below, click on the red box right arrow to switch to the second page of language options.

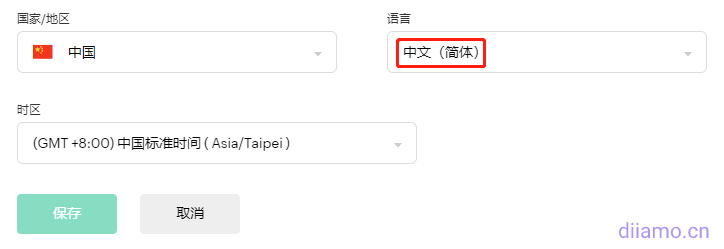
Enter chinese as the language, and select "Simplified Chinese" from the result, you need to refresh the page to change to Chinese after setting.
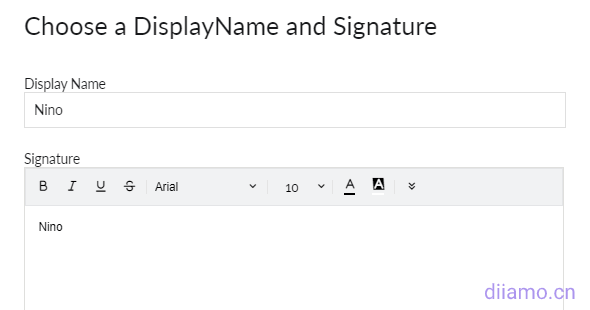
The third page is for mailbox name and signature settings.
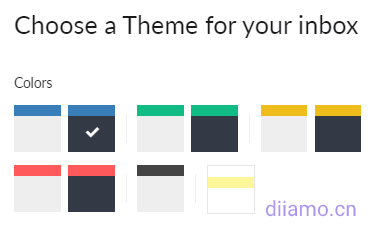
The fourth page is the backend interface color selection.
Page 5 Click to go to your inbox.
Modify the default language of ZOHO mailbox
As mentioned in the tutorial above, the first time you enter the mailbox you will get a welcome screen, and on the second page you can set the language. If you don't choose the language at that time, you can go toPersonal Information PageClick "Edit" to change the language.
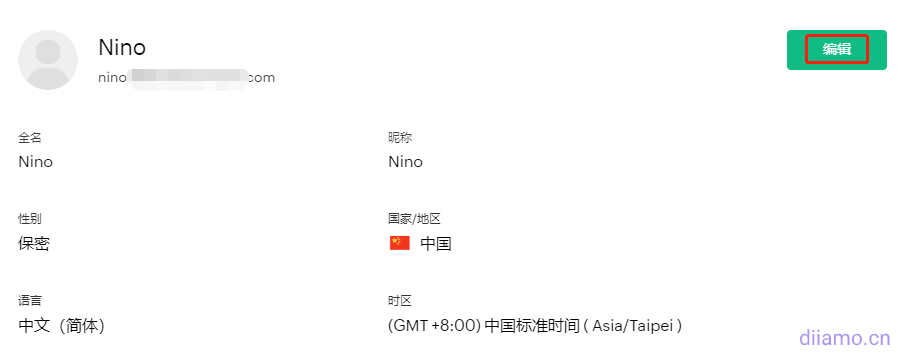
Select Chinese.
Familiar with ZOHO mailbox interface and functions
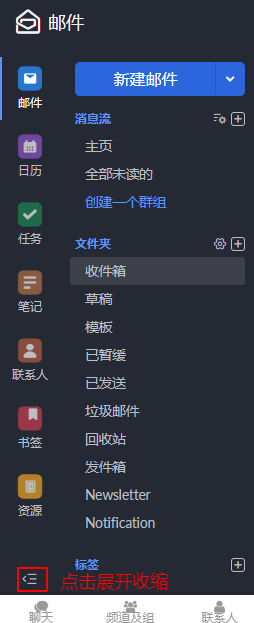
Like Google Enterprise Mail, ZOHO integrates mailbox into the office suite, so there are many functions in the mailbox interface, which makes people dazzled. In fact, many functions are other functions of the office suite, which are not related to the mailbox, so just ignore them.

Mailbox left ↓ is the calendar, contacts, etc., at a glance to understand not to explain.
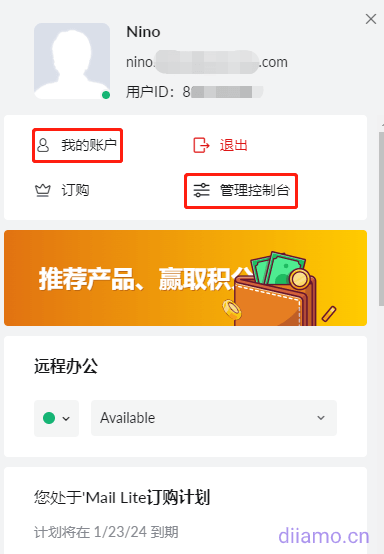
Click on your avatar to view your mailbox capacity and expiration time, and there are entrances to "My Account" and "Management Console".
![]()
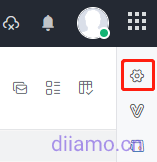
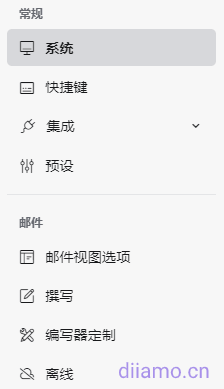
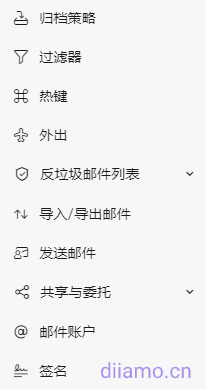
Click the gear in the picture below to enter the mailbox quick settings, you can set the mailbox signature, receive/write email interface layout, anti-spam mailbox and so on.
How to upgrade your ZOHO free email to a paid email address
Free ZOHO enterprise mailbox can't use SMTP, that is to say, it can't bind Foxmail to send and receive emails, and there are a lot of function limitations. If you want to upgrade to a paid mailbox, follow the tutorial below. If the payment failed during the process of registering paid ZOHO mailbox, resulting in the opening of free mailbox, you can also follow this tutorial to upgrade paid mailbox.
Mailbox in login status, click to enter the administration backend:. https://mailadmin.zoho.com/cpanel/home.do#dashboard, click the Upgrade button in the upper right corner (below).
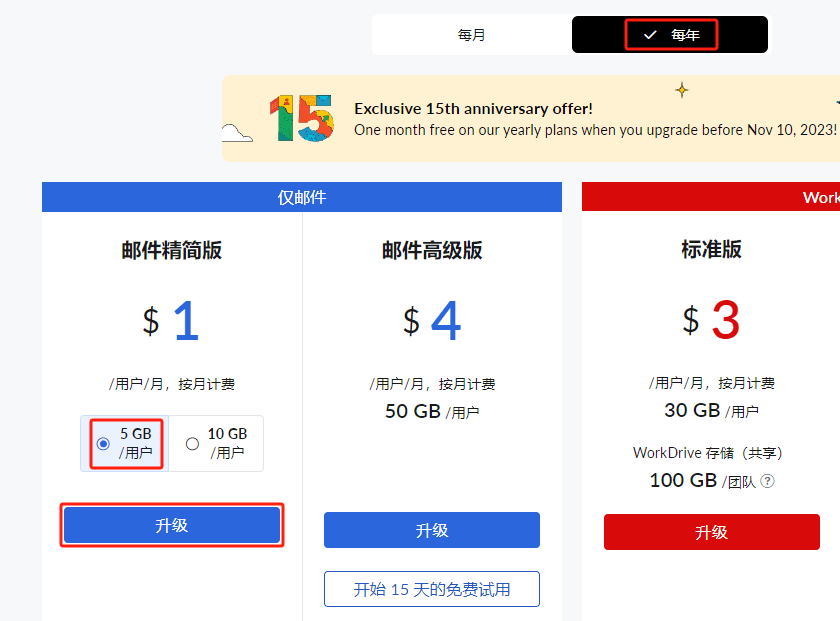
Select "Annual Payment", then select the mailbox capacity and click "Upgrade".
 ,
,
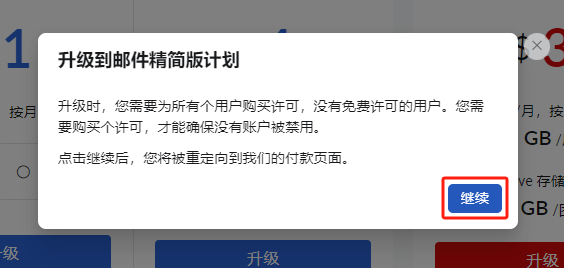
Click "Continue", note: you can only upgrade the paid packages for all the mailboxes you have created, you can't upgrade a mailbox individually.
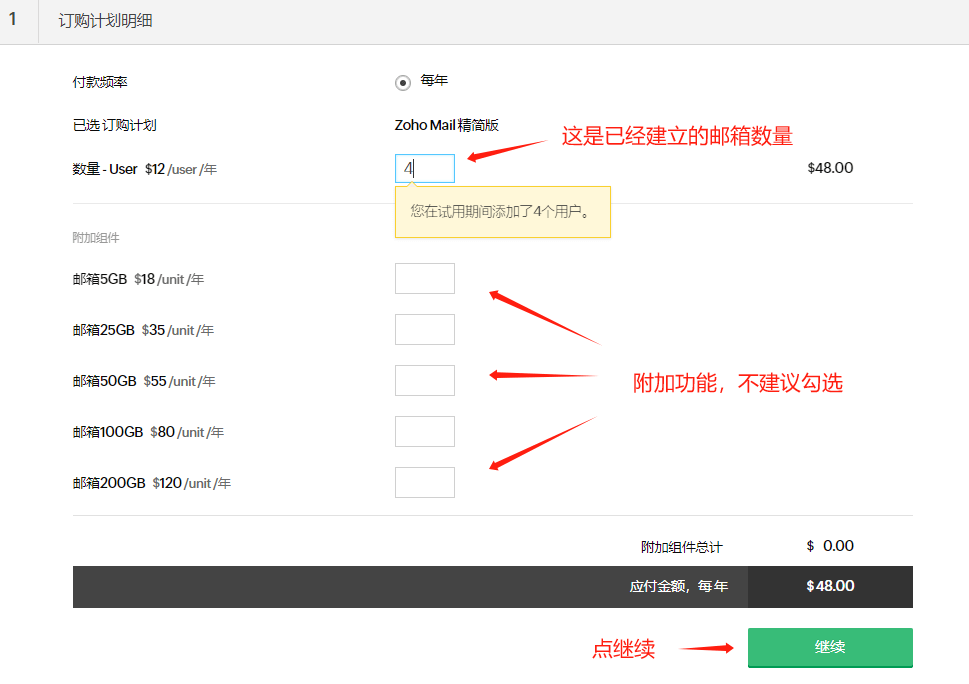
How many mailboxes have been created will show how many plans are purchased, for example, in the picture below there are 4 free business mailboxes under the customer's account, so it automatically shows that 4 paid mailbox packages need to be purchased.
Enter billing information.
Choose the payment method, you can choose a credit card with Visa, Master logo or Paypal, click "Pay" or "Continue". ![]() Follow the process to complete the payment.
Follow the process to complete the payment.
After completing the payment, you will be prompted with the image below. If it says $6 or something like that, ignore it, it doesn't help.

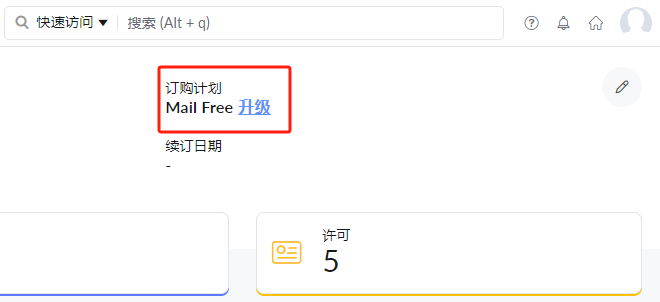
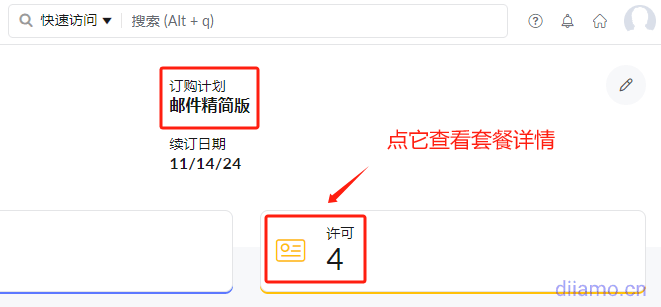
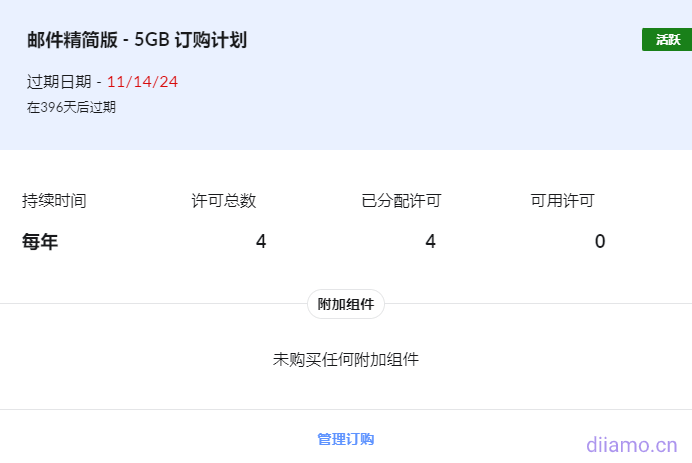
Go to Adminhttps://mailadmin.zoho.com/cpanel/home.do#dashboardIf the top right corner of the subscription plan shows "Email Lite", it means that the upgrade is completed. Click "License" to view the package details↓.
How to add a new email account to ZOHO mailbox?
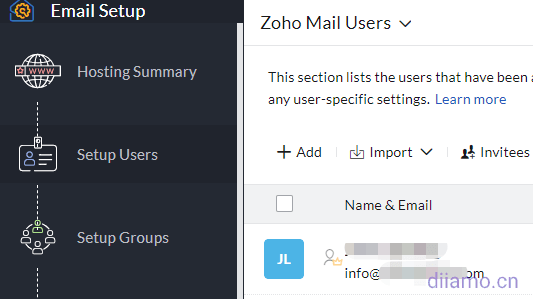
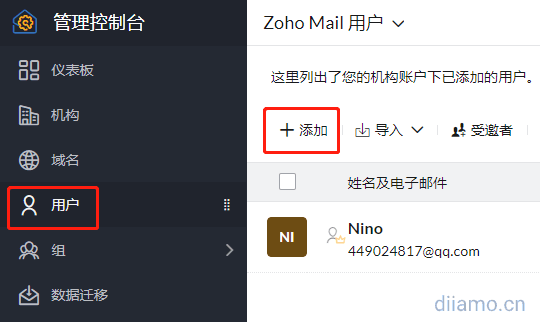
Foreign trade enterprises under a domain name, generally need to open multiple mailbox accounts. Login mailbox and enterMailbox Management ConsoleIf you want to add a new user, go to the User section and click "Add".
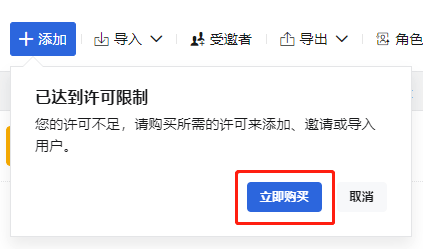
If the license limit has been reached, click "Buy Now" ↓.ZOHO enterprise mailboxes are charged according to the number of accounts/users, one mailbox/user is $12 per year. New mailboxes need to be purchased.
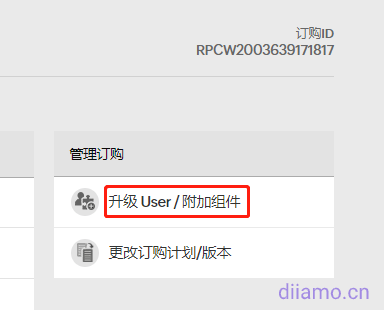
Click on "Upgrade User/ Add-ons"↓ in the middle right of the page.
Select the number of email accounts to be added and click "Continue". Ignore the other options and don't choose them, they are useless and a waste of money.
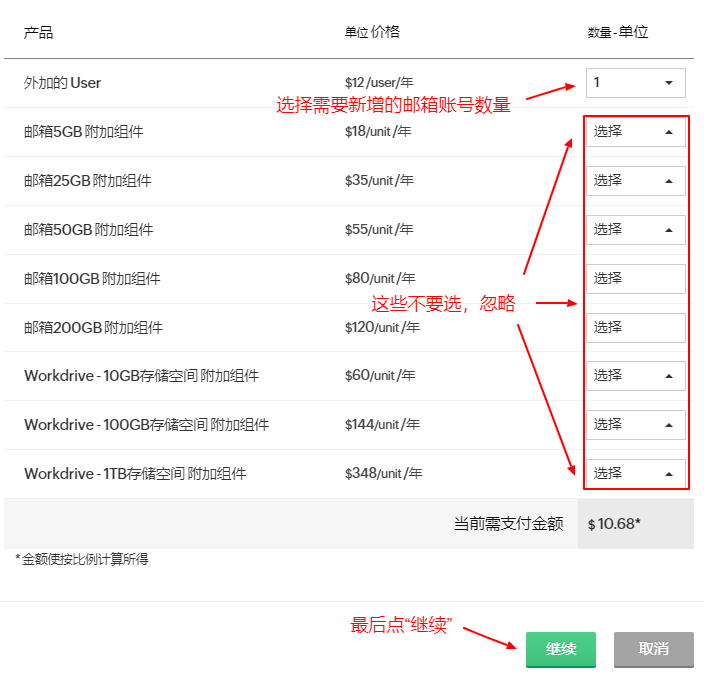
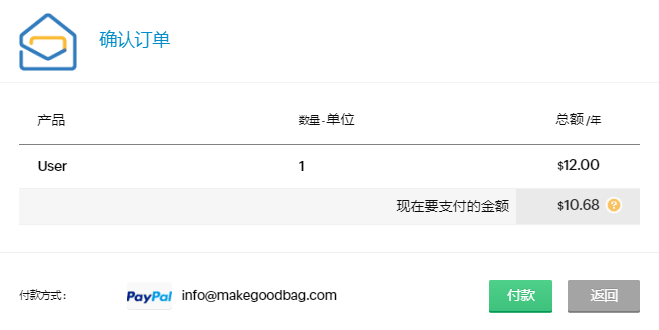
Confirm the order content and click "Payment" if there is no problem.
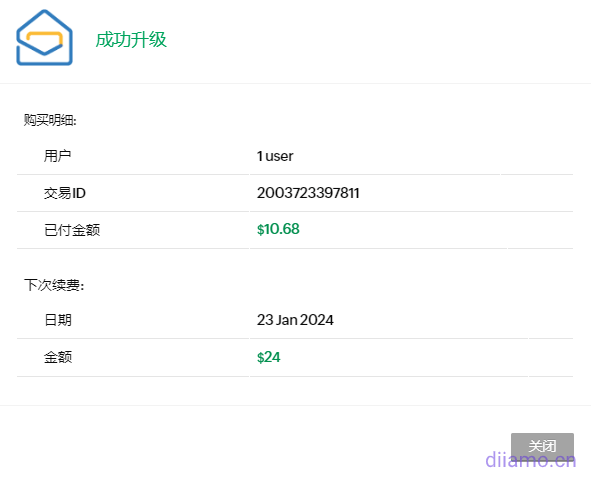
The payment was successful ↓.
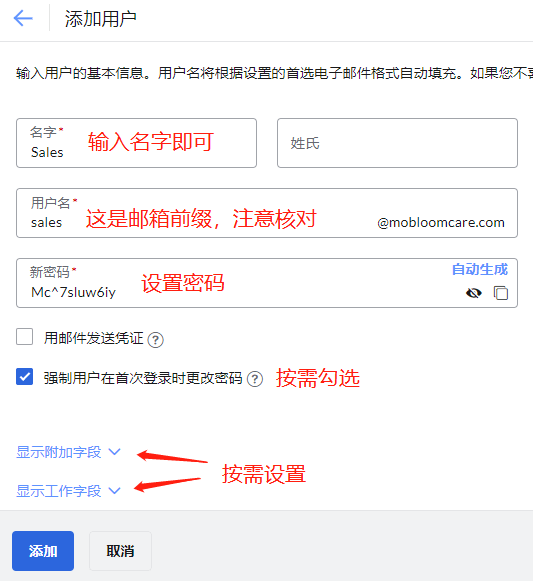
Re-entryMailbox Management ConsoleClick on "Add". Click "Add".
Enter the information as shown and tap "Add".
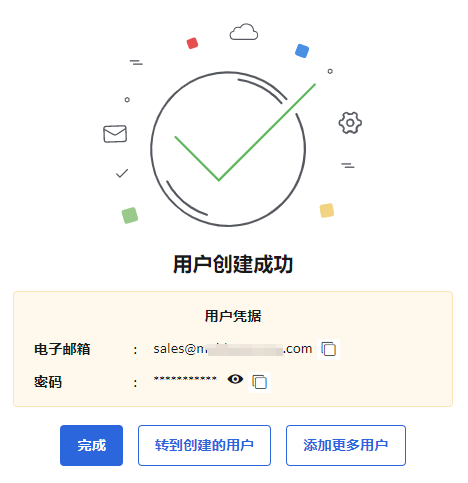
The creation of mailboxes/users was successful. If you want to continue suggesting new mailboxes, click "Add more users". If you want to set the content of the new mailbox, click "Go to the created user". To enable SMTP password for the new mailbox, see the following tutorial↓.
How to set SMTP password for ZOHO mailbox?
To link the mailboxFoxmaiSuch mail management customer service terminal need to enter the mailbox password, in order to improve security it is recommended to set up an additional SMTP password. It is specially used for logging in the third-party client.
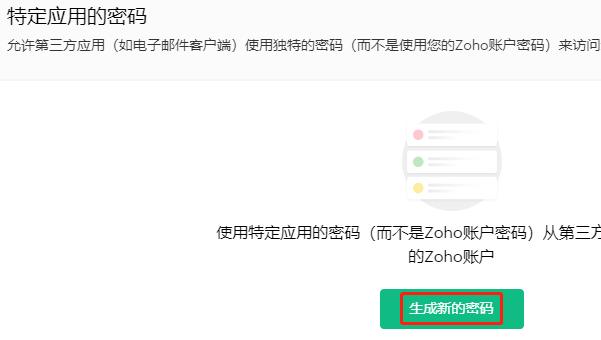
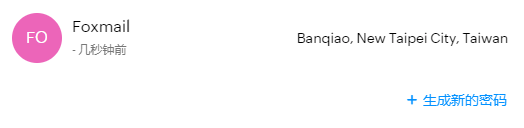
Open and log inhttps://accounts.zoho.com/home#security/app_passwordClick "Generate new password".
Note: Log in to whichever mailbox you want to set the SMTP password to operate. If you areIf you just added a new mailboxYou need to log out of your current account and then log in with your new e-mail address before you can set your SMTP password.
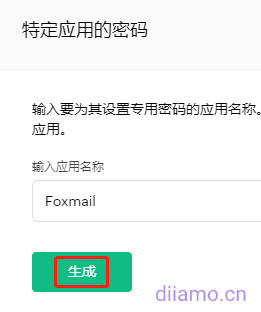
Enter an English name and tap "Generate".
The red box is the SMTP password, save it. You need to enter this password when linking to third-party clients such as Foxmail, and you don't need to enter your mailbox password.
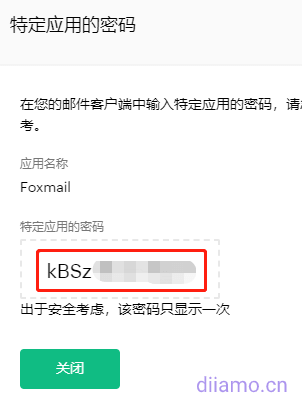
The following figure shows that the SMTP password has been generated.
ZOHO how to mailbox binding mobile phone/computer client
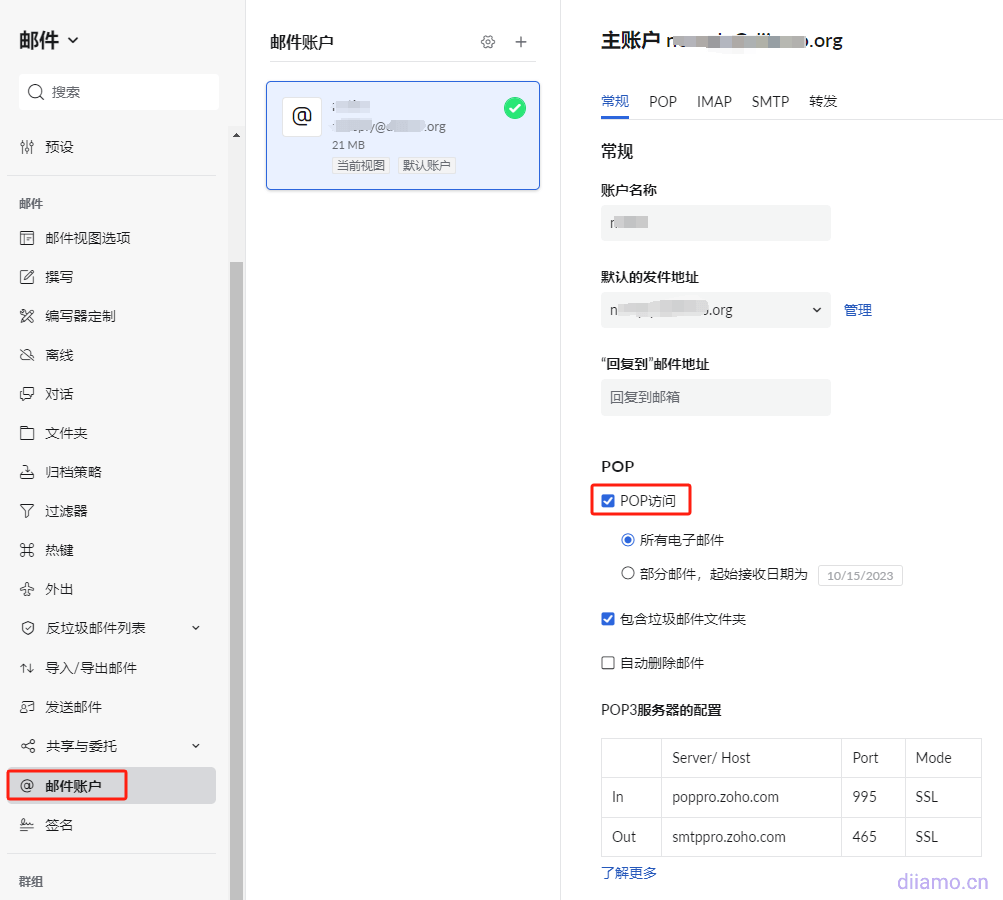
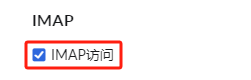
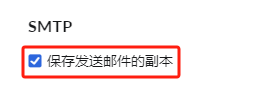
You need to turn on the appropriate permissions before binding. Mailbox login status, accesshttps://mail.zoho.com/zm/#settings/systemGo to the Mailbox Settings > "Mailbox Account" settings page as shown below. Click Enable POP, IMAP, SMTP.
ZOHO has its own mobile email client software, go to Google Play store or Apple store to search forZOHO MailInstall the app. android phones that can't open the google store can click downloadZOHO mail apk installerThe
Recommended for computersFoxmailSending and receiving emails is more convenient, and you can also useZOHO Official PC SoftwareThe
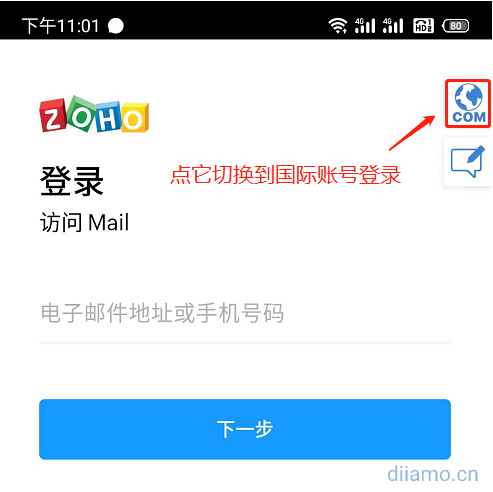
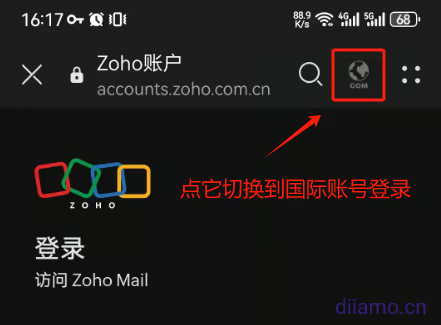
Note: The domestic and international versions of the cell phone APP are common, by default the APP login interface is to log in the domestic ZOHO mailbox, enter the international mailbox account to login will prompt that this account does not exist. You need to click the earth icon COM↓ in the upper right corner of the picture below to switch to the international mailbox login interface.
Some versions of the software look like this ↓ in the picture below:
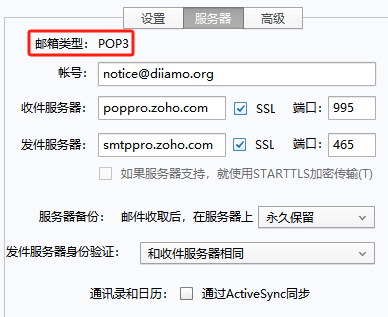
Cell phone can also use QQ mailbox, Netease mailbox master and other APP binding ZOHO mailbox to realize sending and receiving, specific reference to the following binding Foxmail tutorial. Binding client needs to fill in SMTP and other information, see the following table.
| Linking Methods→ | IMAP | POP | SMTP |
| Server Address/Name | imappro.zoho.com | poppro.zoho.com | smtppro.zoho.com |
| Port | 993 | 995 | 465 (SSL) or 587 (TLS) |
| SSL | Support (check SSL when binding) | ||
| Login User Name | E-mail address xxx@xxx.com | ||
| login password | SMTP password (if any) or email password | ||
Foxmail on computer Binding steps below:
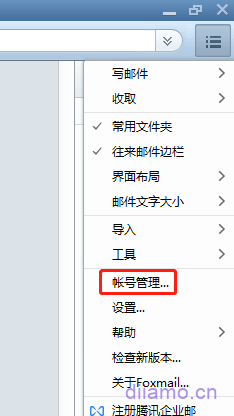
Click on the Settings button in the upper right corner of Foxmail and click on "Account Management".
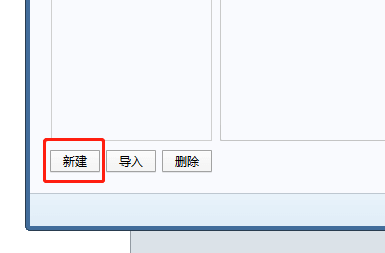
Click on "New".
Select another mailbox.
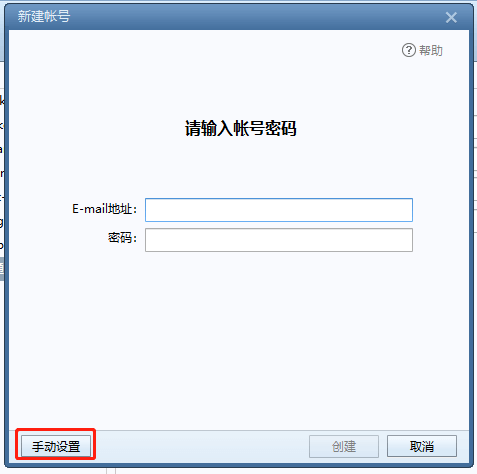
Select "Manual Settings".
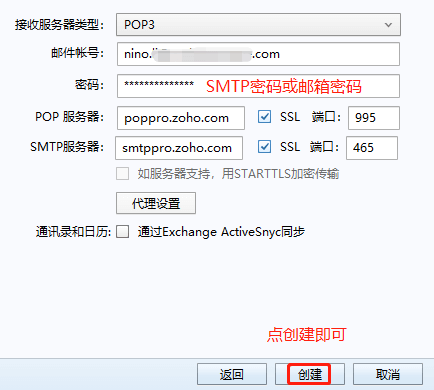
Enter your information and click Create, and enter your SMTP password if you have set it in the Password column, or enter your e-mail password if you haven't set it.
Add Mailbox Successful

How to set mailbox alias for ZOHO mailbox?
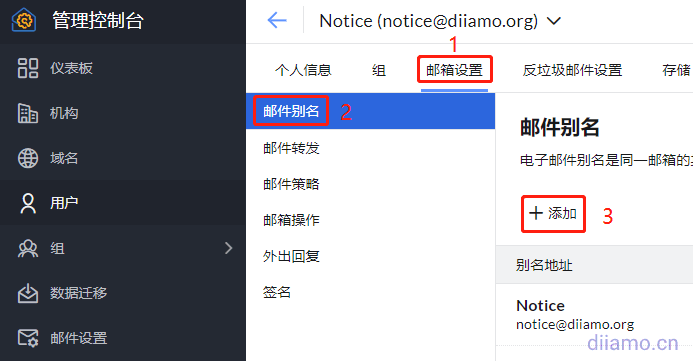
Log in to your email and open this URLhttps://mailadmin.zoho.com/cpanel/home.do#users, click the mailbox you want to set an alias ↓.

Add mailbox aliases by clicking the buttons in numerical order.
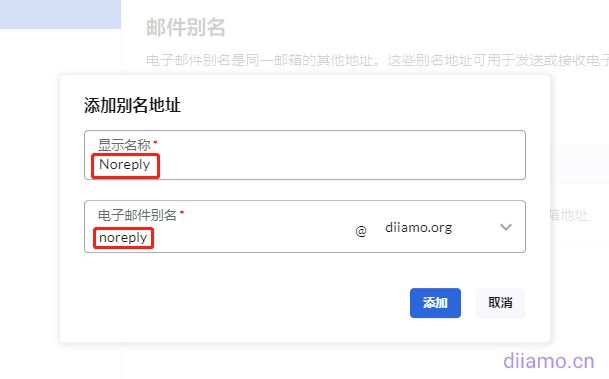
Enter the display name and email prefix and tap "Add".
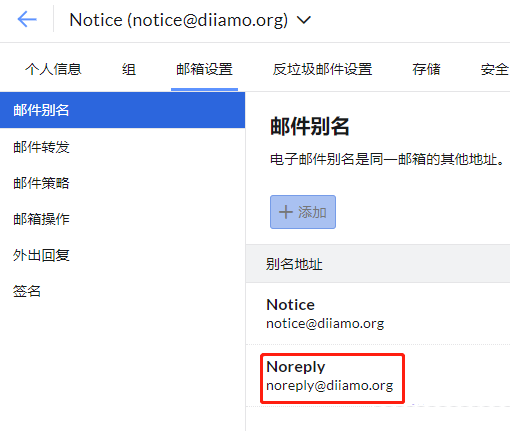
After finishing adding you can see the mailbox alias you just added ↓.
How to relocate emails in ZOHO mailbox
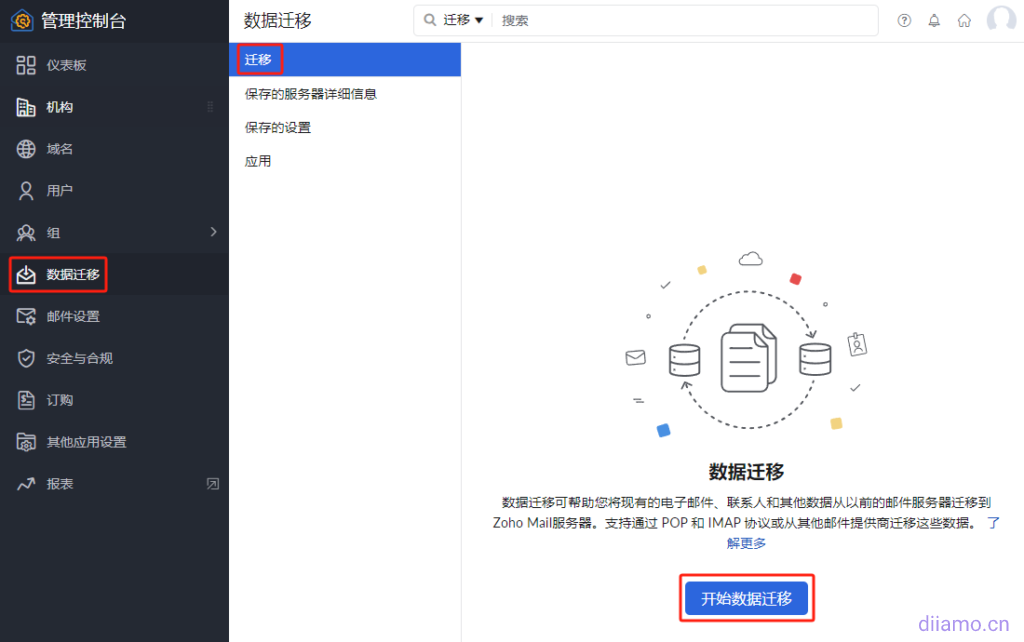
If you have used the same mailbox before, you can move all the previous emails to ZOHO.management consoleClick on "Start Migrating Data" and follow the steps.View detailed tutorial. Move in and enterWeb-based mailboxThe corresponding emails can be seen.
After binding Foxmail, a window will pop up automatically asking if you want to import emails between, just follow the steps.
How to renew ZOHO mailbox?
ZOHO mailbox adopts automatic renewal deduction mode, you need to bind credit card and Paypal in advance, and deduction will be made automatically when it expires. If the deduction fails, you need to bind a new credit card and Paypal, and then deduction will be made automatically.
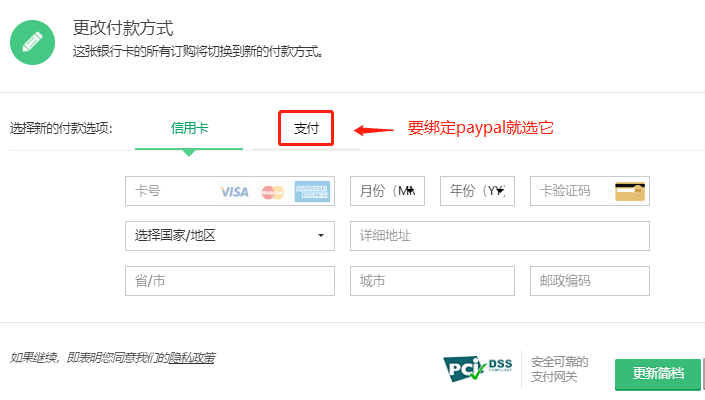
If you are in arrears, you will be reminded to renew your subscription at the top of the web mailbox, click "Renew/Renew" to enter the payment method setting page as below. Click "Renew" to bind a valid credit card or Paypal (the previous binding may expire or the balance is insufficient to cause charge failure).
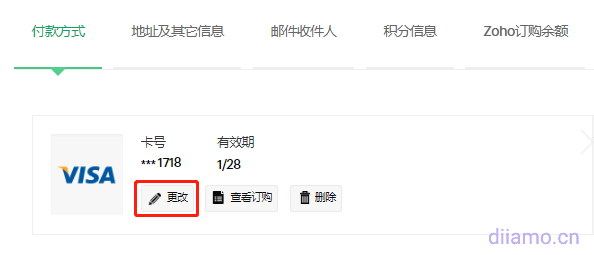
Enter your credit card information and click "Update Profile" to verify, ZOHO will automatically deduct the fee, the card verification code refers to the back of the card in the center position of the right most of the three black italicized numbers. If you want to bind Paypal, click "Payment" and follow the steps.
ZOHO mailbox sending restrictions, blocked and release methods
In order to avoid spam and control costs, all mailboxes have sending limits, and ZOHO is no exception, click to viewZOHO Email Restriction Details. It is possible to increase the sending limit to 2500 packages per day, however, additional costs will be incurred, please contact customer service for detailssales@zohocorp.comThe
Note: ZOHO has bounced mail monitoring, if there are a lot of bounced mails in the sent mails it will lead to the mailbox being blocked automatically. The recipient should be verifiedWhether the e-mail address is real and validThe content of the email contains no words or links that can be easily blocked.
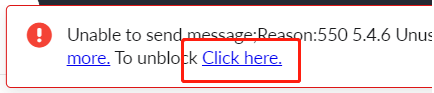
If you are suddenly unable to send emails, log in toWeb InboxIf you want to send an email, you can do so at any time. The following message should appear at the top of the screen, telling us the error code of the reason why we can't send emails, take a screenshot and save it. First try to click "Click here" to unblock the mailbox by yourself, if successful, the mailbox will be back to normal.
If there is no option to unblock yourself, or if the unblocking is unsuccessful, contact customer service to deal with it. 把刚才保存的错误代码截图发送到abuse@zohocorp.com and support@zohomail.com帮忙解封. Most mailboxes are blocked because they send spam too often or contain unfriendly content.
ZOHO receives 2 identical duplicate emails
If you choose POP mode when you bind Foxmail or other software, the emails sent out from the website via SMTP will also enter the inbox of the outgoing mailbox. This serves as a reminder and we quite like this feature.
If the website form is set to receive inquiries with the same email address as the sending email address, it will result in receiving 2 identical emails. The solution is to use IMAP mode to rebind Foxmail, or put thereception (of transmitted signal)The e-mail address of the inquiry is set to another e-mail address.

ZOHO Mailbox Frequently Asked Questions
1- If you open the mandatory multi-factor authentication after registering an account, you will be asked to bind the verified cell phone number first when you log in to your mailbox using webpage or APP (no verification is needed for SMTP login). And it is impossible to bind the cell phone number used to register the mailbox.
Because the registered cell phone number is defaulted to the recovery/modified email password number, ZOHO requires that the login verification cell phone number cannot be the same as the recovery number.
There are 2 solutions.
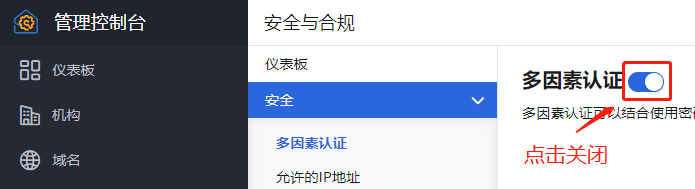
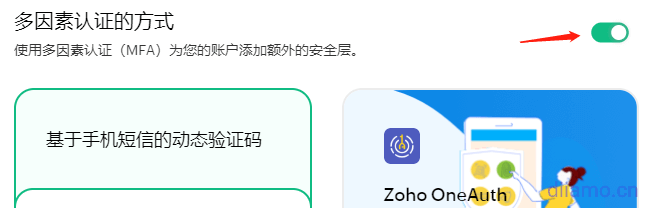
Method 1: This is the most convenient method, that is, directly turn off multi-factor authentication, loginMailbox Management ConsoleClick the button below to turn off forced multi-factor authentication. No authentication is required when logging into your mailbox after turning it off.
Above is to turn off multi-factor authentication for all mailboxes under the account, each mailbox account can still loginpersonal centerEnable/disable multi-factor authentication individually↓.
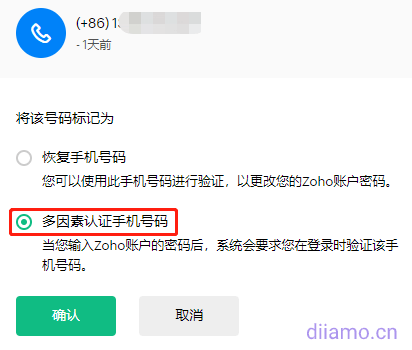
Method 2: Bind the cell phone number directly according to the prompt to open the security login verification, so that the security is also higher. You can log in the mailbox successfully after the bound cell phone number is verified. If you want to modify the bound cell phone number later, go toCell Phone Number Modification PageClick Add Mobile Number at the bottom of the page.![]() Add a new cell phone number.
Add a new cell phone number.
Click the round button next to the new number![]() Change the number to "Multi-Factor Authentication Cell Phone Number".
Change the number to "Multi-Factor Authentication Cell Phone Number".
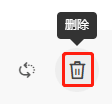
Click the Delete button next to the number to delete the cell phone number that was tied to it at the beginning.
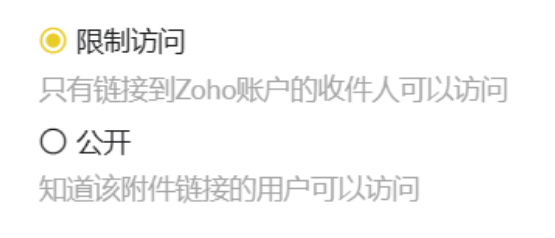
2- The zip file attachment in the email opens with an error:
ZOHO restricts access to this type of attachment by default, so clicking to open it will result in an error. You need to save as and open it or set it to "Public" in the picture below.